In most cases, calibration data is already built-in during the initial setup. However, it is possible for this data to become corrupted due to crashes or drops during shipping. If you are unsatisfied with the auto keystone correction performance, feel free to recalibrate your projector. Here's how to do it:
For Capsule 3 Laser GTV,
Go to Settings > Projector > Advanced Settings > Keystone Calibration > Restore.
If the issue is still not solved after restoring calibration, then please follow these instructions step by step:
Step 1: Make sure you place the projector on a flat surface during the calibration process. A slight angle might corrupt the calibration data.
Step 2: Align the picture to a rectangle.
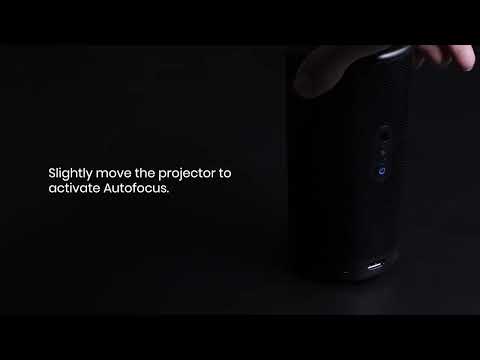
Step 3: Move or rotate your projector to correct the picture.
Step 4: Check whether the picture is still a rectangle.
Step 5: Repeat Step 3 and Step 4
Step 6: Calibration complete.
For Capsule 3 Laser ATV,
Update the firmware of the Capsule 3 Laser to the latest version via Settings > Device Preferences > About > System Update > Check Updates
Try to restore the calibration via Settings > Projector Settings > Advanced Settings > Keystone Calibration > Restore
If the issue is still not solved after restoring calibration, then please follow these instructions step by step:
Step 1: Make sure you place the projector on a flat surface during the calibration process. A slight slope might corrupt the calibration data.
Step 2: Align the picture to a rectangle.
Step 3: Move or rotate your projector to correct the picture.
Step 4: Check whether the picture is still a rectangle.
Step 5: Repeat Step 3 and Step 4
Step 6: Calibration complete.