When turning on a brand new Nebula projector for the first time, the device will enter the setup page after it boots up. Please follow the on-screen guides to finish the setup process before using the projector:
1. Select a system language you prefer;
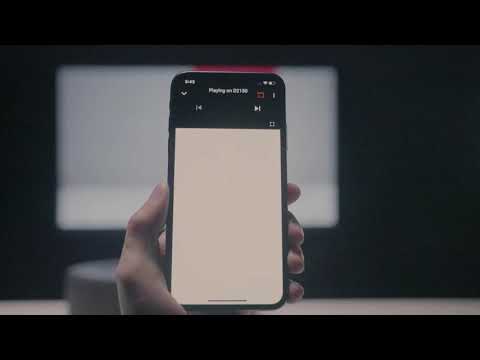
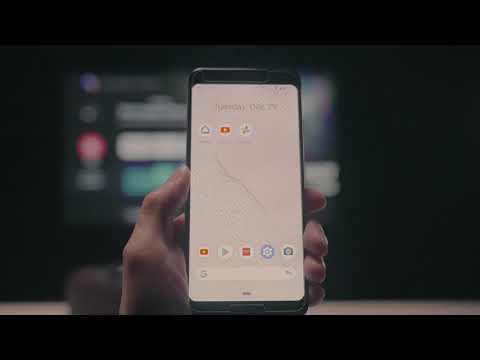
2. Choose either "Continue" or "Skip" quickly set up your TV (Nebula projector) with your Android phone;
a. If you select "Continue", please follow the instructions projected on the screen or wall to start the quick setup process. You can also refer to the how-to video to see how to quickly set up your Nebula projector with your Android phone:
b. If you select "Skip", please continue the following steps to complete the setup process.
- Select your WiFi network (or the hotspot of your phone) and input the correct password to connect;
- Sign in to your Google Account;
- Read and accept Google Terms of Service;
- Set location permissions;
- Choose whether to help improve Android;
- Choose whether to turn on personal results;
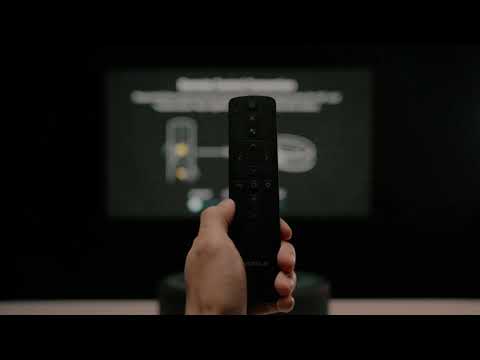
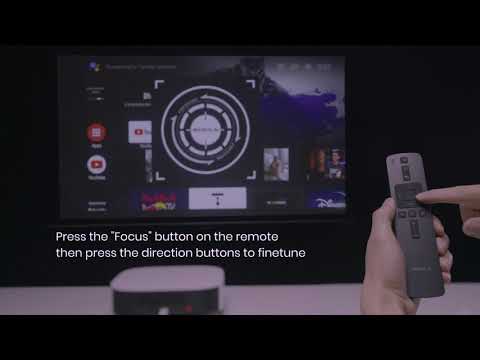
- Pair your remote with Nebula through the instructions projected on the screen or wall.
Note: If you update it to the latest firmware by going to settings>device preferences>about>system update, The setup process can be skipped and you will be able to use the projector right away.
There are 4 ways to use Nebula projectors:
- Install streaming apps from Play Store and watch videos on the device directly;
- Connect another HDMI output device (like a computer) to Nebula through an HDMI cable. Simply plug one end of the HDMI cable into the Nebula's HDMI port and the other end into the other device's HDMI port;
- Connect a USB flash drive to Nebula's USB-A port and play videos from the flash drive;
- Cast or mirror content from a smartphone / tablet / computer to Nebula.
If you have additional questions, please contact us for further assistance.